


Today we're all in for a sweet treat! Say hello to our guest blogger – Jen Wood!
Jen Wood is a California mom, designer, baker and all around creative person. Her blog, "Crafted By Jen", shares fun and whimsical diy projects, recipes and ideas on how to make your life colorful. She has sold her fun designs to specialty boutiques and collaborated with various companies including, The Food Network and Disney Family.
Jen has created a special recipe inspired by September’s Sanrio Character of the Month, Monkichi. We hope that you’ll go bananas for it!
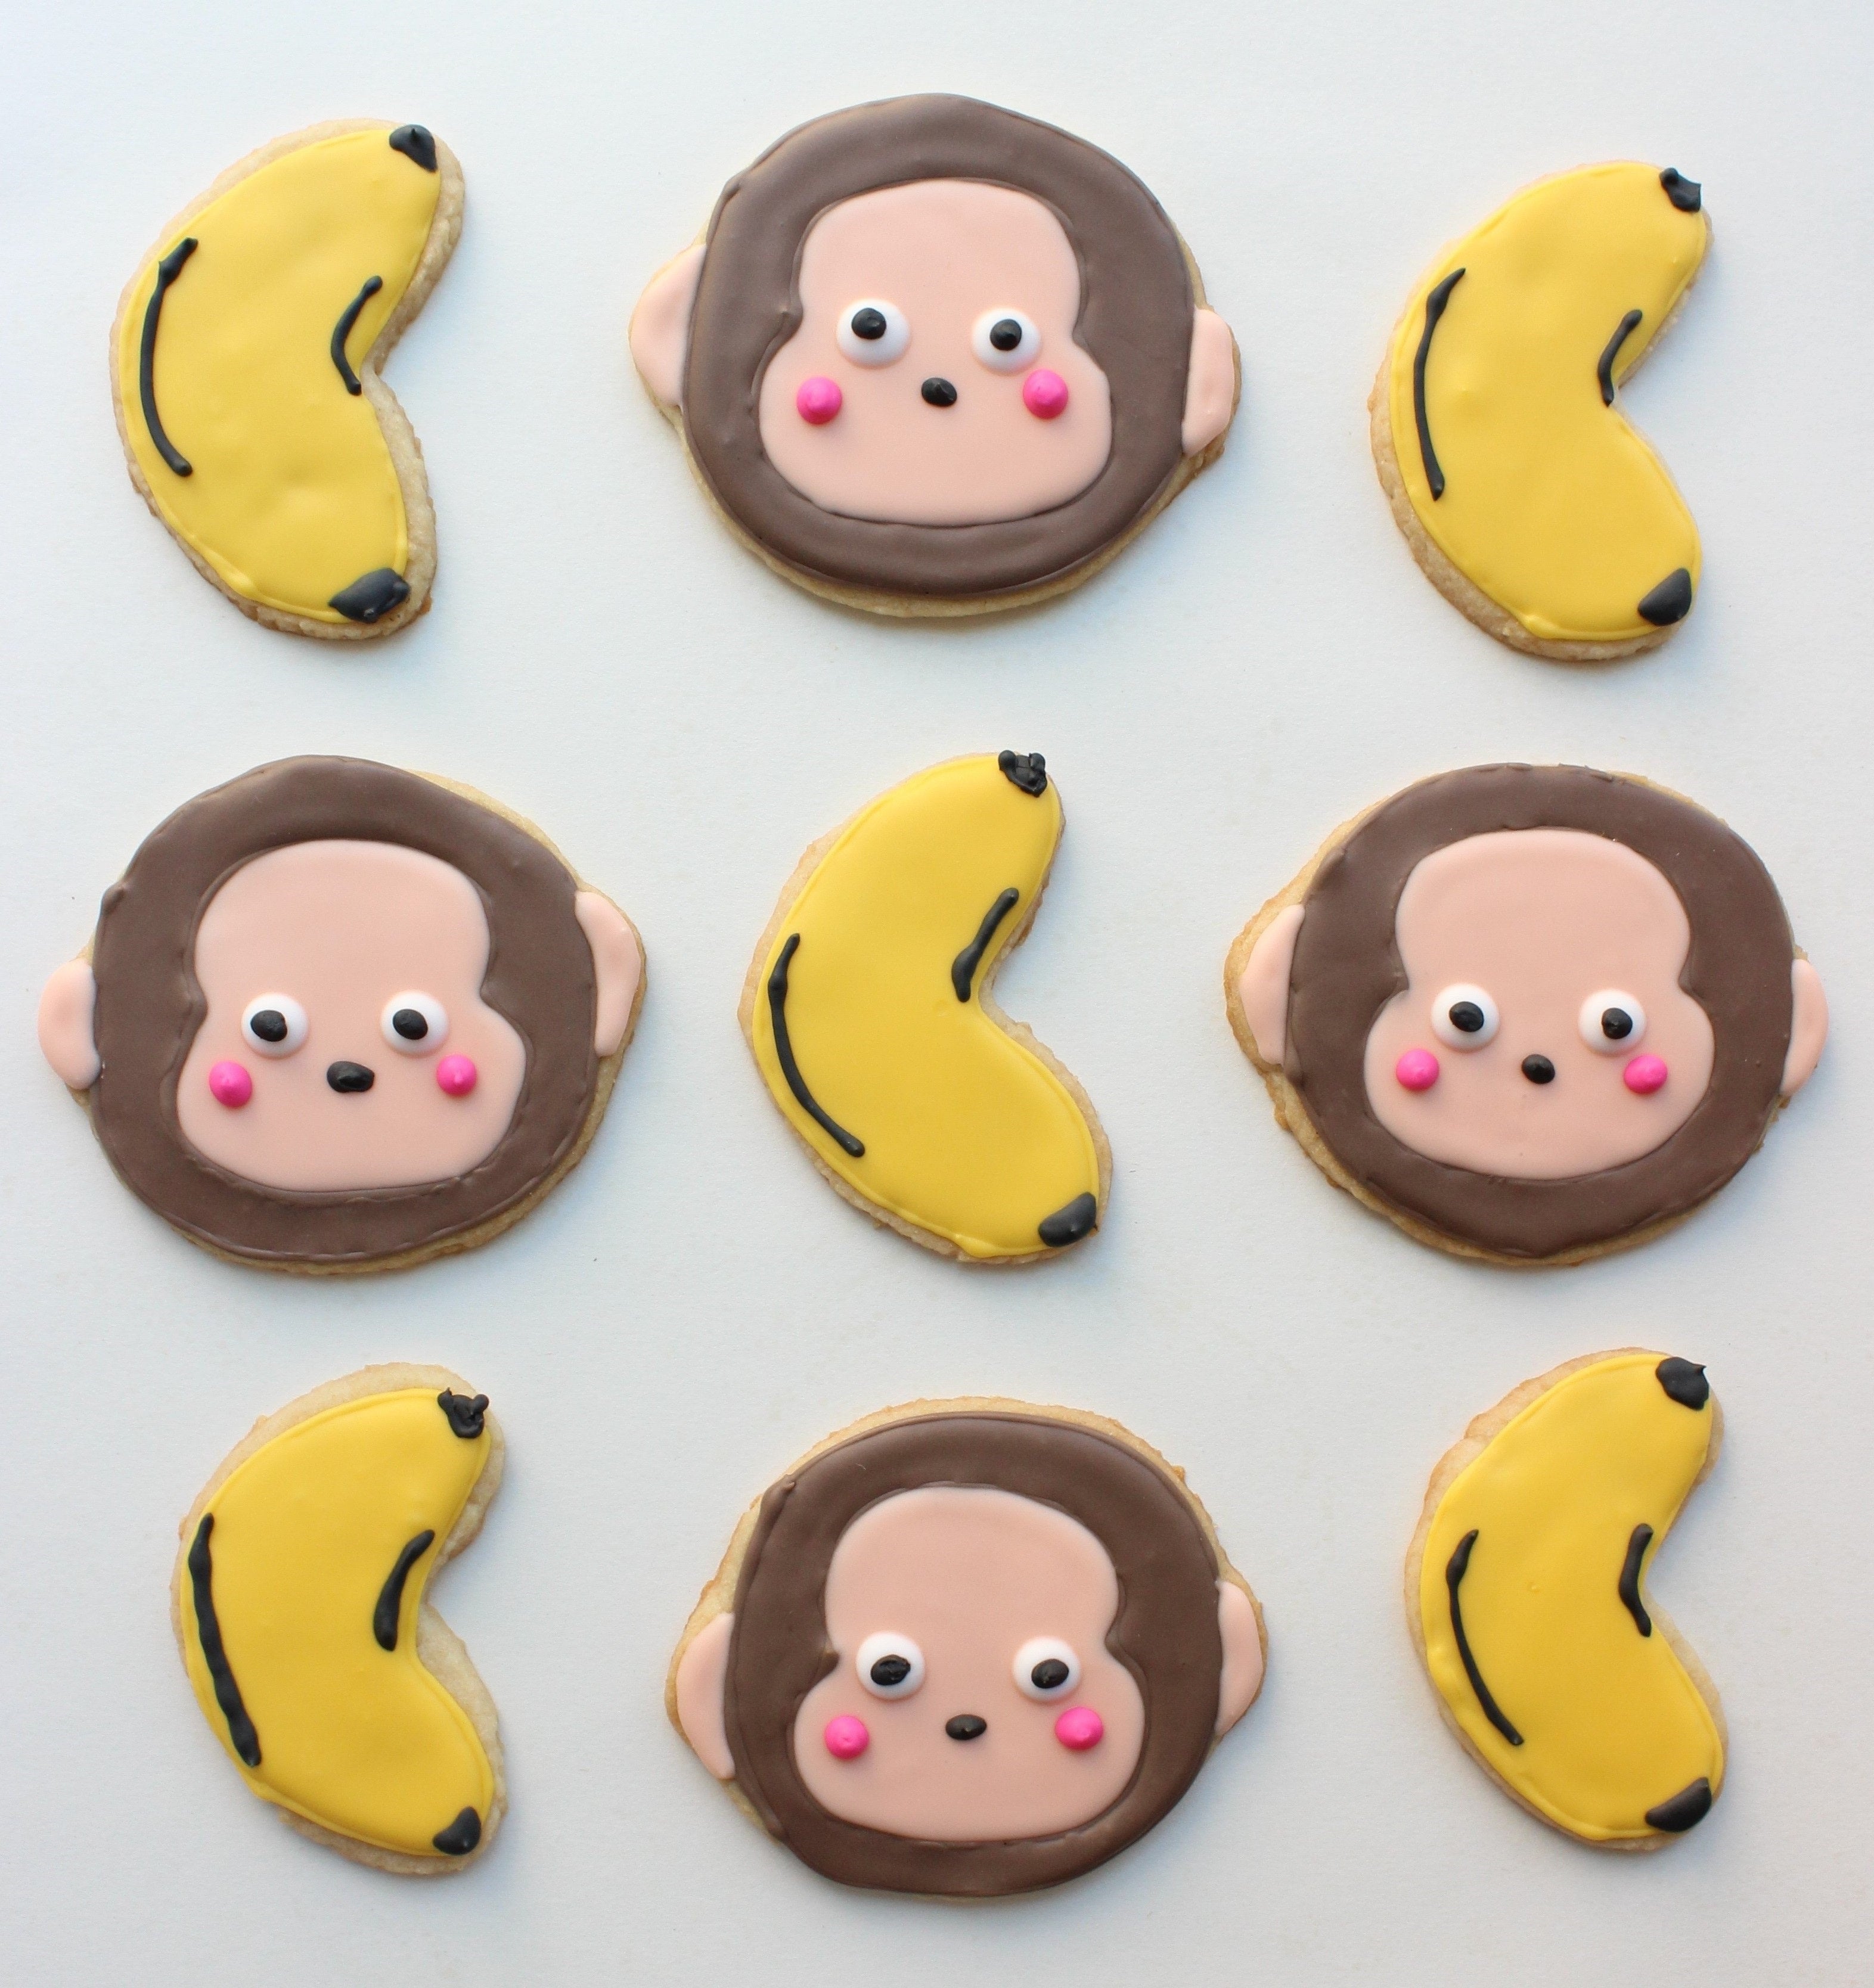
To start – you’ll need some deliciously adorable sugar cookies!
Sugar
Cookie Recipe:
1 cup
unsalted butter, softened
1 cup
granulated white sugar
1
large egg
1 tsp.
vanilla extract
2 tsp.
baking powder
1/2
tsp. salt
3 cups
flour
Directions
- Preheat the oven to 350 F.
- In the bowl of a stand mixer use the paddle attachment to beat the butter and sugar on med-high speed until combined.
- Beat in the egg, vanilla extract, baking powder and salt.
- Slowly, add the flour and mix until dough is formed.
- Roll out dough about 1/4" thick with a rolling pin. Cut out cookies using a monkey head- shaped and banana-shaped cookie cutter.
- Line cookie sheets with clean parchment paper or silicon baking mat. Space out cookies on sheets so they have enough room to rise.
- Bake at 350F for 6-8 minutes.
- Allow cookies to cool completely before decorating with royal icing.

Ready to decorate? Here what you’ll need!
Royal Icing Ingredients (for Outlining):
4 cups (about 1 lb.) confectioners' sugar
5 tablespoons warm water
3 Tbsp meringue powder
Royal Icing Ingredients (for Flooding):
4 cups (about 1 lb.) confectioners' sugar
6 tablespoons warm water
3 Tbsp meringue powder
Gel food coloring on brown, black, pink, peach and yellow
Directions
- Beat all ingredients except gel food coloring until icing forms peaks (7-10 minutes at low speed with a stand-mixer).
- Separate frosting in bowls to mix in different colors with gel food coloring. You’ll need brown outline and flood icing for the outer part of Monkichi’s head, peach outline and flood icing for his face, and black, white and pink outline icing for his features. For the bananas, you’ll need yellow outline and flood icing and black outline icing for the details. Don’t forget to reserve some plain white!
- Place in frosting bags for easy decorating.
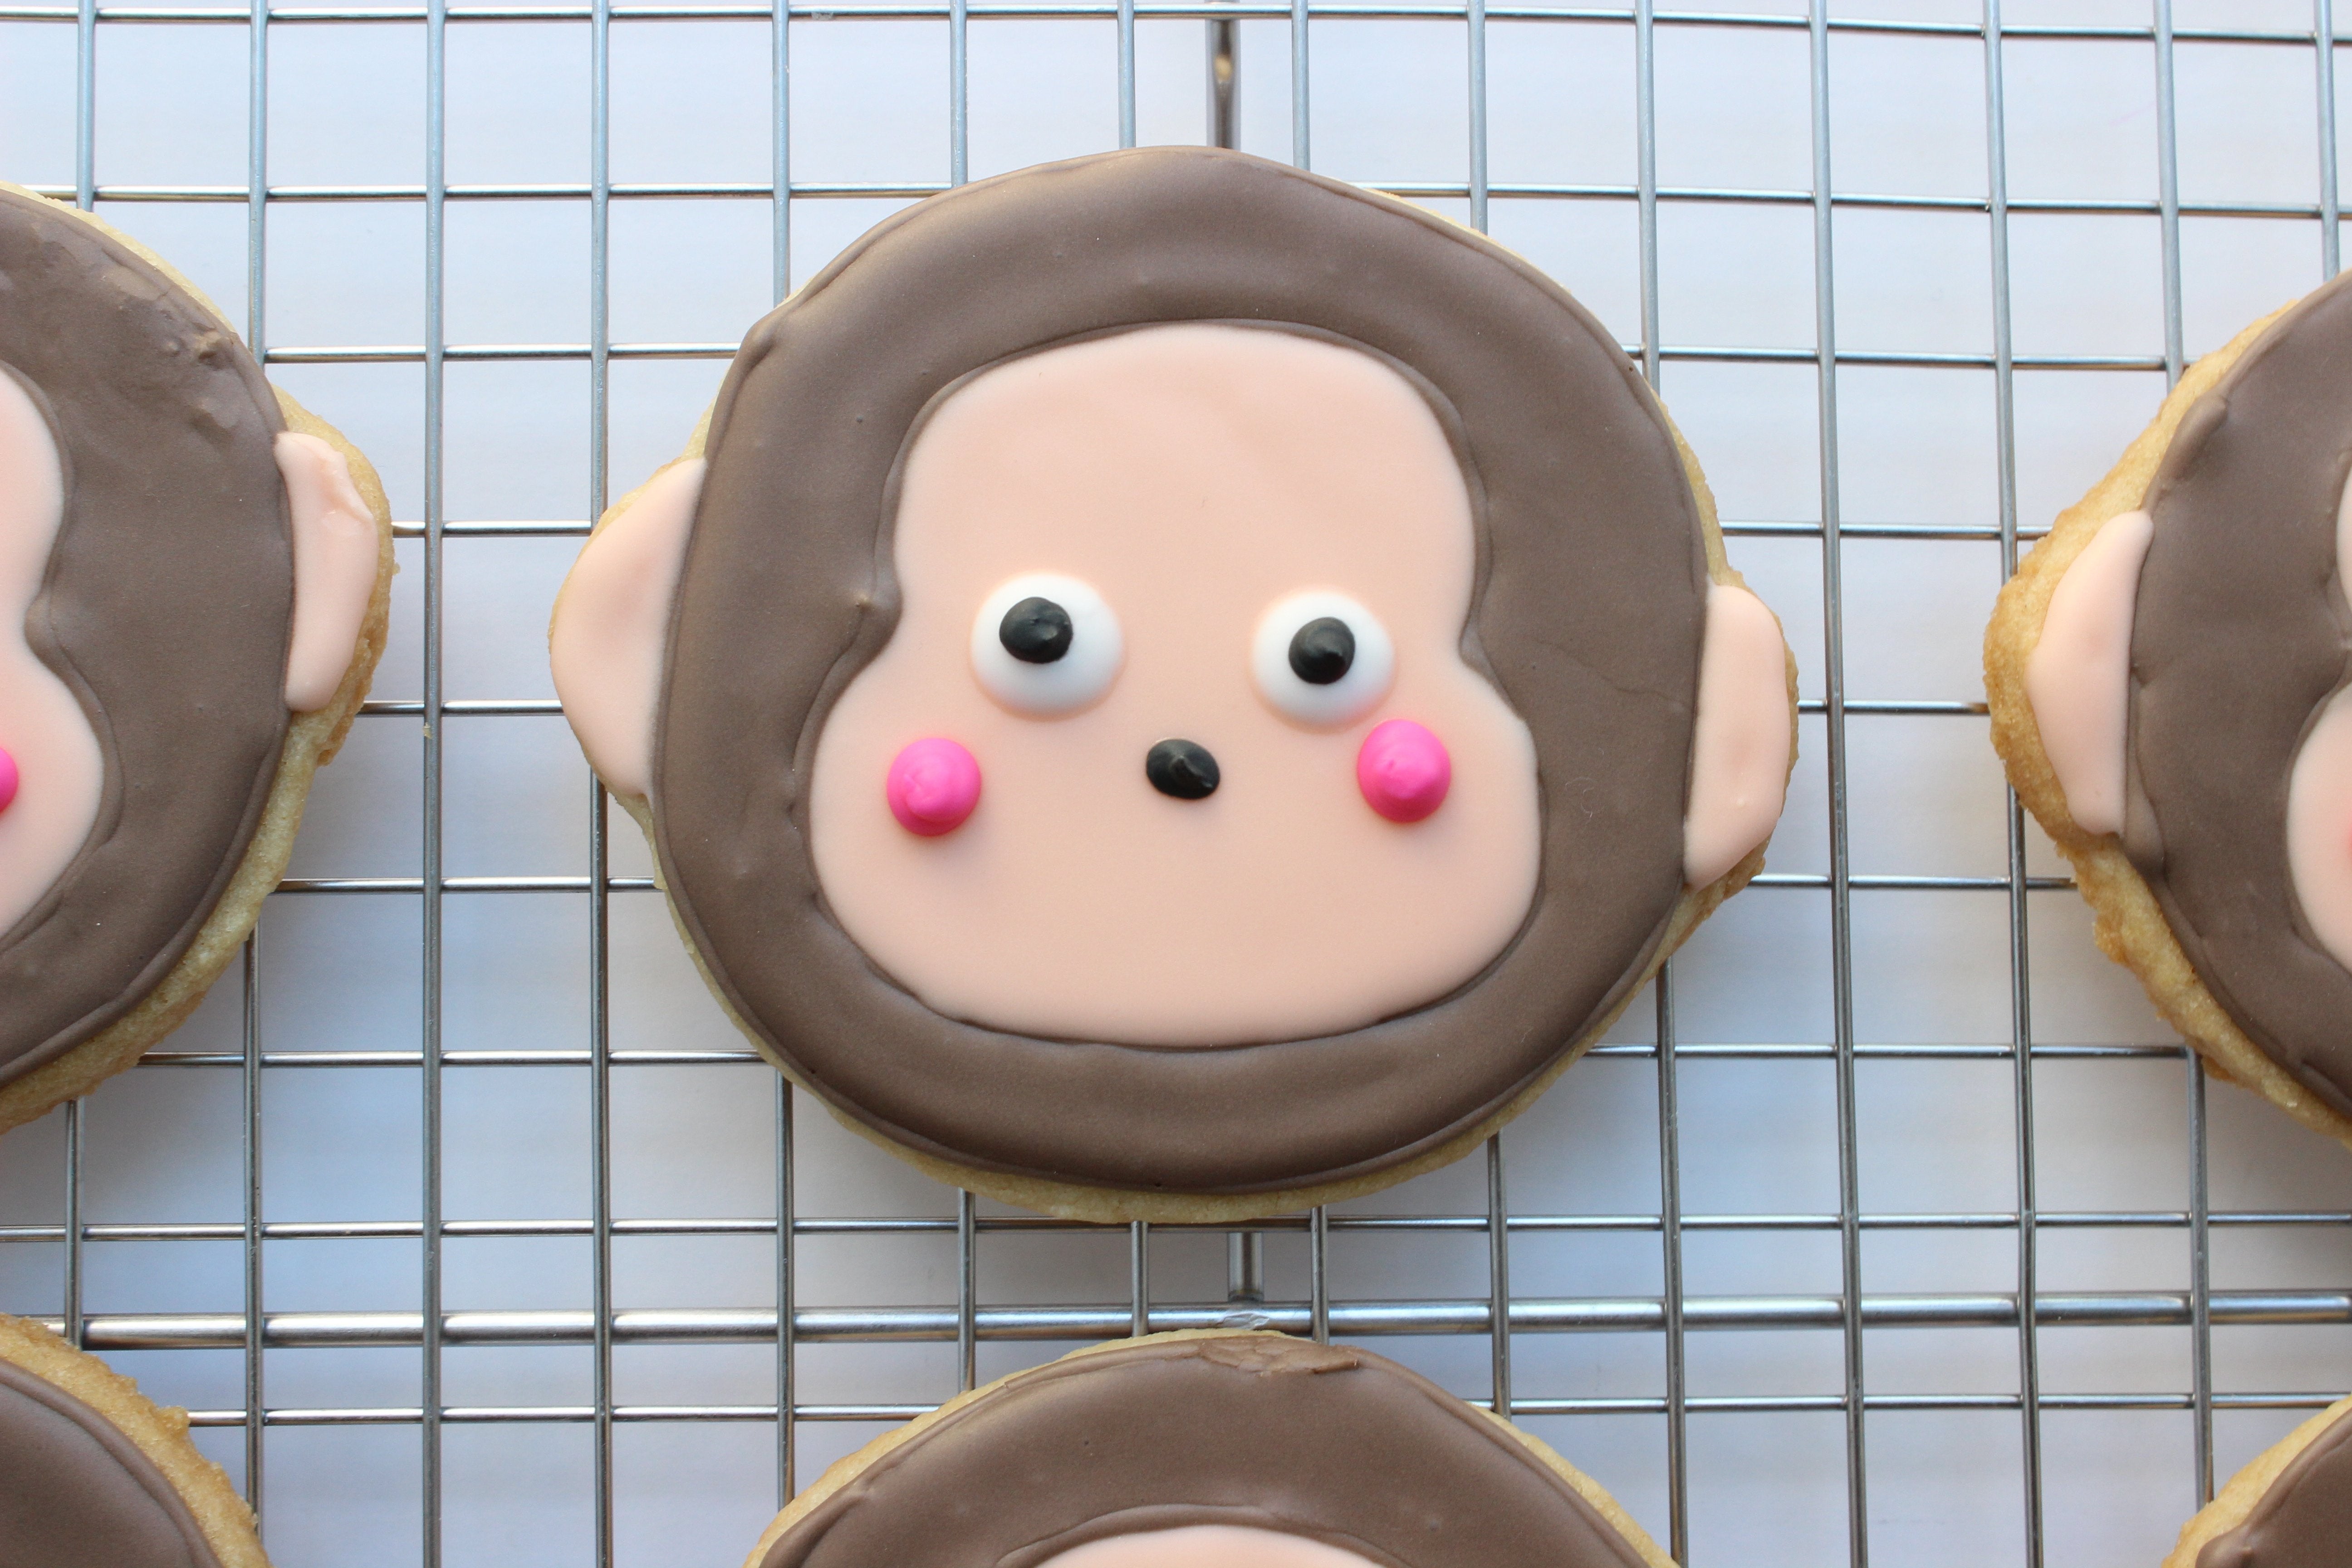
Start by outlining Monkichi’s head with brown royal icing. With the same color icing, "flood" or fill your outline.

Outline
the inside of the face with peach royal icing. Then "flood" or fill
with the same peach colored icing. Outline and fill the ears with more peach colored icing. Let the base dry for at least 4 – 5 hours.

For the eyes, use the white outline icing then add a small black dot of outline icing with a #2 piping tip. Add a small black dot for the nose. Add 2 pink dots with the outline frosting for the cheeks!
Let dry for at least 6 hours, then enjoy!

Thank you, Jen, for sharing this supercute recipe! If you’d like to see more “Crafted by Jen” fun, be sure to follow her on Instagram and to check out her blog.

Please note: Sanrio has invited, but does not necessarily endorse, the comments of this guest blogger. The contents of this blog are the copyrighted works of the guest blogger, except that Hello Kitty and other Sanrio characters remain the sole intellectual property of Sanrio, and are used with permission from Sanrio. Any ideas or instructions for homemade products featuring Hello Kitty or other Sanrio characters are authorized for personal use only. A separate license from Sanrio is always required to sell or distribute any products featuring Hello Kitty or other Sanrio characters.